A 4500Psi PCP compressor with auto stop and dual cylinders is built to simplify high-pressure fills for pneumatic rifles and compatible air tanks while reducing guesswork, heat buildup, and overfill risk. This guide breaks down what it does well, how to set it up, and the practical checks that keep fills consistent and safe.
This style of compressor is meant to cover the day-to-day realities of PCP ownership: frequent top-offs, repeatable fill pressures, and less dependency on outside fill stations.
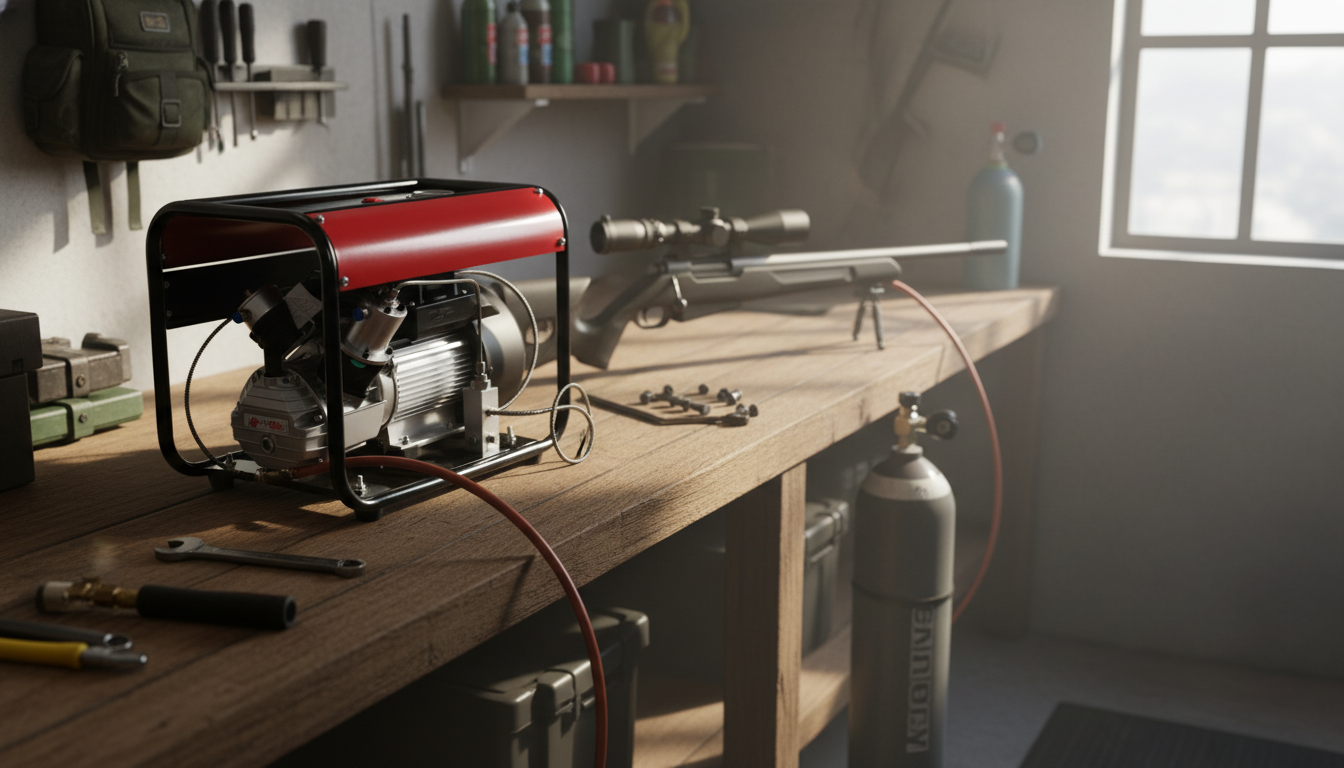
For shoppers comparing options, the High-Efficiency 4500Psi PCP Air Compressor – Auto Stop, Dual Cylinder for Pneumatic Rifles and Gas Tanks fits this “set it up once, use it often” role for home, garage, or range-day prep.
Auto stop is about consistency. You set a target, run the fill, and the unit shuts down when its gauge reaches the set point. It’s still smart to verify pressure with a trusted gauge on the rifle/tank side, since small gauge offsets are common across systems.
Dual-cylinder designs are often associated with smoother operation and less “struggle” as pressure climbs. In practical terms, that can mean less waiting during top-offs and more predictable fill behavior—especially when combined with good ventilation and a realistic duty cycle.
Efficiency isn’t only a spec; it’s also how the compressor is used. Good airflow around the unit, correct condensate handling, and routine filtration can reduce wasted run time and help the compressor maintain consistent performance over repeated sessions.
Before connecting anything, confirm that every component in the chain is rated for the pressure you plan to use. The compressor’s maximum capability doesn’t change the safe limit of the rifle cylinder, tank, hose, or fittings.
| Check | What to look for | Why it matters |
|---|---|---|
| Pressure rating | Rifle/tank max fill pressure marking | Prevents overfill and equipment damage |
| Fitting match | Correct quick-disconnect or thread adapter | Avoids leaks and thread damage |
| Leak test | No hissing at fittings; stable gauge reading | Reduces heat, wear, and wasted run time |
| Air quality control | Moisture/oil filtration appropriate for PCP | Protects valves, seals, and internal surfaces |
| Cooling and duty cycle | Ventilation and cool-down intervals | Helps prevent overheating and premature wear |
A careful first run helps you “learn” how your system behaves and reduces the chances of chasing leaks or inconsistent gauge readings later.
For general compressed-air safety context, review guidance from OSHA’s Compressed Air safety topic and related safety references such as the NIOSH Pocket Guide.
If your shop setup also uses compressed air for other tasks, a dedicated tool like the 3 Ton Triple Bag Pneumatic Air Jack with Wheels & Long Handle can be a helpful addition—just keep PCP filling equipment clean and separated so dirt and moisture don’t migrate into high-pressure fittings.
Yes—provided the tank is rated for the intended pressure and the fittings match. Confirm the tank’s working pressure and inspection status, use appropriate filtration, and fill in steps while monitoring temperature.
No. Auto stop helps prevent overshoot, but early fills should be monitored for leaks, gauge differences, and pressure settling after the system cools.
As pressure increases, compression work rises and flow typically drops, so the last portion of a fill often takes longer. Heat buildup and small leaks can also reduce effective fill speed, making ventilation and tight fittings especially important.


Leave a comment